
When I first heard about DTF Transfers, I was skeptical. As someone who had spent years wrestling with heat transfer vinyl (HTV) and screen printing, I thought I had seen it all. But after testing DTF on a whim for a small batch of custom t-shirts, I was hooked. The colors popped, the details were crisp, and the process was surprisingly forgiving. If you're curious about DTF transfers but don't know where to start, this guide will walk you through everything I wish I'd known from day one.
What Are DTF Transfers?
DTF stands for Direct-to-Film. Unlike DTG (Direct-to-Garment) printing, which prints directly onto the fabric, DTF involves printing your design onto a special film, coating it with adhesive powder, and then transferring it to the garment using a heat press. The result is a soft, stretchable print that bonds well to cotton, polyester, blends, and even some tricky fabrics like nylon and leather.
The magic of DTF is in its versatility. You can print on dark colors without a white underbase, and the prints hold up wash after wash. Plus, the setup cost is far lower than screen printing, making it ideal for small businesses, crafters, and anyone who wants to experiment with custom apparel.
How DTF Transfers Work: Step by Step
Understanding the process helps you troubleshoot when things go wrong. Here's the workflow from start to finish.
1. Design Preparation
Start with a high-resolution image (300 DPI is your friend). DTF printers use CMYK plus white ink, so your design should be in RGB or CMYK color mode. If your design has transparent backgrounds, that's fine; the white ink layer will be printed underneath to make colors pop on dark fabrics. Just remember to mirror your image horizontally before printing, because the film is transferred face-down.
2. Printing onto Film
The printer lays down a layer of white ink, followed by the color inks. The white ink is crucial because it acts as a base, allowing the colors to be vibrant even on black shirts. After printing, the film is dusted with a thermoplastic adhesive powder (often called hot melt powder) and then cured in an oven or with a heat gun until the powder melts and forms a smooth, dry layer.
3. Transferring to the Garment
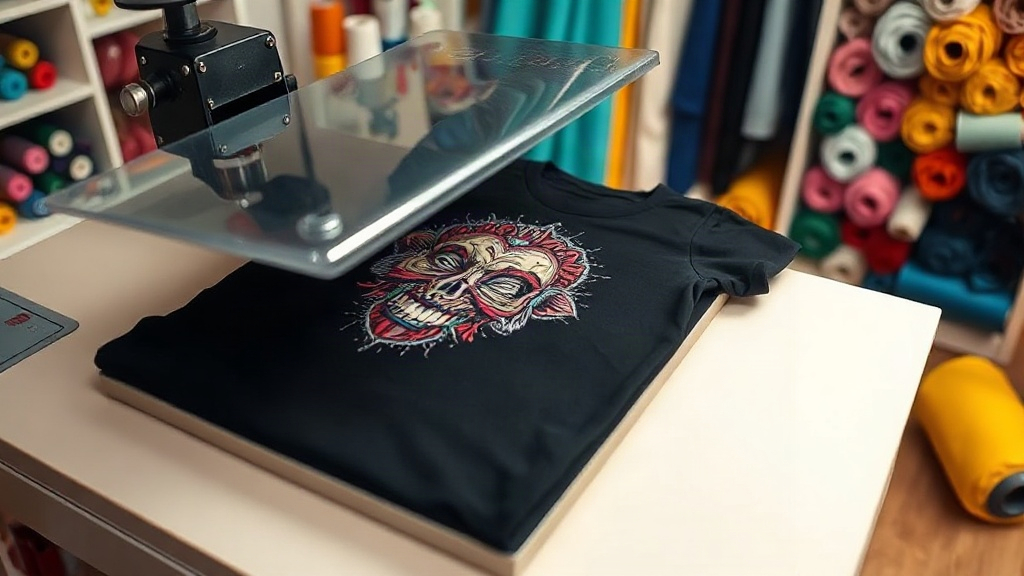
This is where the heat press comes in. You'll need a press that can maintain consistent temperature and pressure. The typical settings are 300-320°F (150-160°C) for 10-15 seconds with medium to firm pressure. Peel the film off either hot or cold, depending on the film type. I prefer cold peel because it gives the adhesive time to set, reducing the risk of distortion.
Why Choose DTF Over Other Printing Methods?
If you're on the fence, here's a quick comparison based on my own experience:
- Versatility: DTF works on almost any fabric, including cotton, polyester, blends, and even treated nylon. HTV struggles with high-polyester fabrics, and DTG often requires pre-treatment.
- Durability: A properly applied DTF transfer can outlast the garment itself. I've washed test shirts over 50 times, and the prints still look great.
- Cost-Effective for Small Runs: No screens, no minimums. You can print one-off designs without breaking the bank.
- Detail and Color: DTF excels at intricate details and gradients. Photographic images come out surprisingly well.
That said, DTF isn't perfect. The prints can feel slightly rubbery on very thin fabrics, and the process requires a decent printer and heat press. But for most applications, the pros far outweigh the cons.
Common Challenges and How to Overcome Them
Even with a solid setup, you might run into issues. Here are some problems I've faced and their solutions.
Adhesive Powder Not Melting Properly
If the powder doesn't melt completely, the transfer won't adhere well. This usually happens when the curing temperature is too low or the time is too short. Invest in an infrared thermometer to check the actual temperature of your oven or heat gun. Aim for 320°F (160°C) for about 2-3 minutes in an oven, or until the powder looks glossy.
Prints Peeling After Washing
Peeling is often caused by insufficient pressure during transfer or not enough adhesive powder. Make sure your heat press applies even pressure across the entire design. If you're using a home iron, upgrade to a proper heat press; it's worth the investment. Also, after transferring, wait 24 hours before washing, and always wash inside out in cold water.
Colors Looking Dull
Dull colors can result from a thin white ink layer or using the wrong color profile. Ensure your printer's white ink density is set correctly (usually around 80-100% for dark garments). Also, calibrate your monitor and use ICC profiles provided by your printer manufacturer.
Choosing the Right DTF Supplies
Not all DTF films and powders are created equal. Here's what to look for:
- Film: Look for double-sided matte film. It should be able to handle high ink loads without curling.
- Powder: Thermoplastic polyurethane (TPU) powder is the standard. Finer powder (80-200 microns) gives a softer hand feel.
- Inks: Use DTF-specific pigment inks. They are formulated to work with the powder and produce vibrant colors.
I've tried several brands, and while cheaper options exist, investing in quality supplies saves you from frustration and wasted material.
Applications Beyond T-Shirts
DTF transfers aren't just for t-shirts. I've successfully applied them to:
- Canvas tote bags
- Denim jackets
- Polyester sportswear
- Leather patches
- Wooden signs (with a suitable adhesive)
The key is to test on a small area first. Some materials require lower temperatures to avoid scorching.
Frequently Asked Questions
Can I use DTF transfers on 100% polyester?
Yes, DTF works great on polyester, even high-performance fabrics. Just use a lower temperature (around 280-300°F) to prevent dye migration. Also, pre-press the garment to remove moisture.
How long do DTF transfers last?
With proper application and care, DTF transfers can last as long as the garment. I've had prints last over 50 washes without fading or cracking. Always wash inside out in cold water and avoid bleach.
Do I need a special printer for DTF?
You can convert an Epson printer with DTF inks and a RIP software, or buy a dedicated DTF printer. Dedicated printers are more reliable but cost more upfront. For beginners, a converted printer is a good starting point.
What's the difference between DTF and DTG?
DTG prints directly onto the garment, while DTF prints onto a film that is then transferred. DTF works on more fabric types and doesn't require pre-treatment, but DTG can produce a softer feel on 100% cotton.
DTF transfers have opened up a world of possibilities for my custom apparel projects. With a bit of practice and the right supplies, you can achieve professional-looking results right from your home studio. Give it a try, and don't be afraid to experiment.