
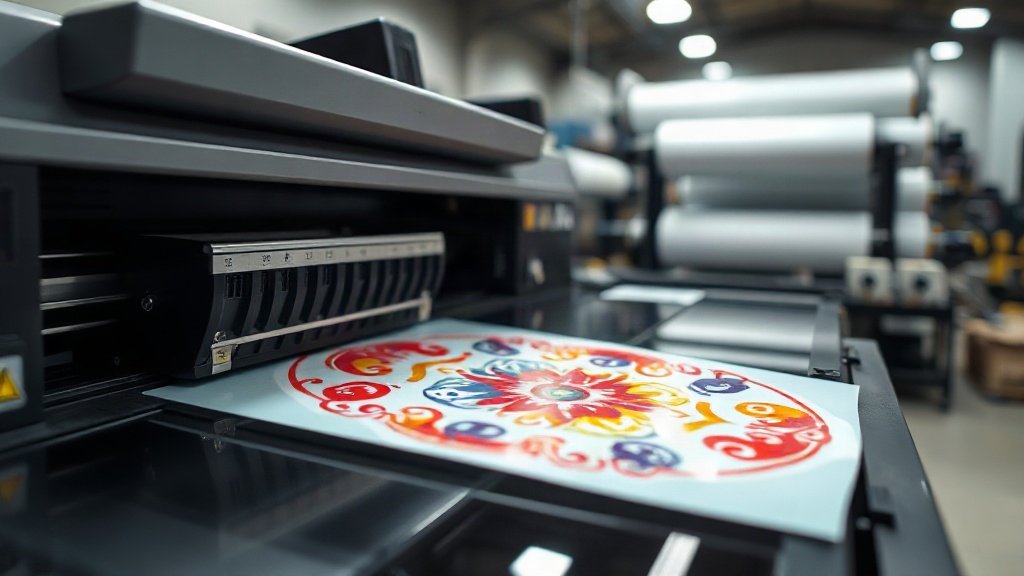
If you've been exploring custom apparel decoration, you've likely encountered DTF printing. Short for Direct-to-Film, this technology has rapidly gained popularity for its versatility, vibrant colors, and ability to transfer intricate designs onto a wide range of fabrics. Unlike traditional methods that require specific material blends, DTF printing works on cotton, polyester, blends, and even treated nylon, making it a game-changer for small business owners, crafters, and hobbyists alike. In this guide, we'll dive deep into the world of DTF printing, covering everything from the process and materials to troubleshooting and pro tips. Whether you're just starting or looking to refine your skills, this comprehensive resource will help you achieve professional-quality results.
What is DTF Printing?
DTF printing stands for Direct-to-Film. It's a digital printing method where your design is printed onto a special PET film using water-based pigments. The printed film is then coated with a hot-melt adhesive powder, cured, and transferred onto the fabric using a heat press. The result is a soft, stretchable, and durable print that can withstand repeated washing. The key advantage of DTF is that it eliminates the need for pre-treatment or weeding, unlike vinyl or screen printing. It's also incredibly efficient for short runs and complex, multi-color designs because there's no setup cost per color.
The DTF Printing Process Step by Step
Understanding the workflow is crucial for success. Here's a breakdown of the typical DTF printing process:
- Design Preparation: Create your artwork in a graphics program, ensuring it's mirrored (unless your printer software handles it automatically).
- Printing: Load the DTF film into your printer. The printer lays down a layer of white ink (for opacity) followed by CMYK colors. Some printers also use a special adhesive layer.
- Powdering: While the ink is still wet, apply hot-melt adhesive powder evenly over the printed area. Shake off excess.
- Curing: Place the film in a curing oven or under a heat press (without pressure) to melt the powder. This creates a dry, non-sticky surface.
- Transfer: Set your heat press to the recommended temperature (usually 300-320°F). Place the film on the garment, press for 10-15 seconds with medium pressure.
- Peel: Wait for the film to cool completely (cold peel) or peel while hot (hot peel) depending on the film type. Then remove the film, leaving the vibrant design behind.
Why Choose DTF Printing?
DTF printing offers several compelling benefits that set it apart from other decoration methods:
- Fabric Versatility: Works on almost any fabric, including 100% cotton, polyester, blends, and even leather. No need for different inks or pre-treatment.
- Color Vibrancy: Produces bright, photographic-quality prints with fine details.
- Durability: When applied correctly, DTF transfers withstand 50+ washes without fading or cracking.
- No Weeding: Unlike heat transfer vinyl, there's no tedious weeding process, saving time and labor.
- Cost-Effective for Short Runs: Ideal for small batches or one-off custom items, as there's no minimum order.
- Stretchability: The prints stretch with the fabric, making them suitable for athletic wear and stretchy materials.
Essential Equipment and Materials for DTF Printing
To get started with DTF printing, you'll need the right setup. Here's what you need:
1. DTF Printer
You can convert an existing inkjet printer (like an Epson) with DTF ink and film, or purchase a dedicated DTF printer. Dedicated printers often come with white ink circulation systems and are optimized for DTF.
2. DTF Inks
Use specially formulated DTF inks (CMYK plus white). These are water-based and designed to adhere to the film and powder.
3. DTF Film
PET film is available in rolls or sheets. It has a matte side (for printing) and a glossy side. Ensure you use the correct side.
4. Hot-Melt Adhesive Powder
This powder is crucial for bonding the ink to the fabric. It comes in different particle sizes; finer powder is better for detailed designs.
5. Heat Press
A heat press with accurate temperature and pressure control is essential for transferring. A clamshell or swing-away press works well.
6. Curing Oven (Optional)
While you can cure with a heat press, a dedicated curing oven provides more even results and is faster for larger volumes.
Step-by-Step DTF Transfer Application
Applying a DTF transfer might seem straightforward, but following precise steps ensures a professional finish.
Preparing the Garment
Pre-press the garment for 5-10 seconds to remove moisture and wrinkles. This creates a smooth surface for the transfer.
Setting the Heat Press
Set the temperature to 300-320°F (150-160°C). Pressure should be medium to firm (around 4-6 on a 1-10 scale). Every press is different, so test with a scrap piece.
Positioning the Transfer
Place the DTF film on the garment with the printed side facing up (if using cold peel) or down (if using hot peel). Check your film's instructions.
Pressing
Press for 10-15 seconds. For hot peel, remove the film immediately while hot. For cold peel, wait until it cools completely before peeling.
Post-Pressing
After peeling, cover the design with parchment paper or a Teflon sheet and press again for 5-10 seconds. This ensures the adhesive fully bonds and improves wash durability.
Common DTF Printing Problems and Solutions
Even with experience, you might encounter issues. Here are some common problems and how to fix them:
- Ink Cracking or Flaking: Usually caused by insufficient powder or under-curing. Increase powder application and ensure proper curing temperature and time.
- Poor Adhesion: May be due to low pressure, incorrect temperature, or not pre-pressing the garment. Adjust settings and always pre-press.
- Color Fading After Wash: Often from under-curing or using too high heat during transfer. Verify curing and transfer parameters.
- Film Not Peeling Cleanly: Could be due to insufficient cooling (for cold peel) or too much pressure. Allow proper cooling and adjust pressure.
- Clogged Printhead: Regular maintenance and using quality inks prevent clogs. Run daily nozzle checks and clean as needed.
Pro Tips for Stunning DTF Results
Take your DTF printing to the next level with these expert tips:
- Use High-Quality Film: Cheaper films can cause ink smearing or poor release. Invest in reputable brands.
- Control Humidity: High humidity affects powder application and curing. Work in a climate-controlled environment.
- Test, Test, Test: Every fabric and press behaves differently. Create a test matrix for your most common materials.
- Store Film Properly: Keep unused film sealed to prevent moisture absorption.
- Maintain Your Printer: Regular cleaning and maintenance extend printer life and ensure consistent output.
DTF vs. Other Printing Methods
How does DTF stack up against DTG, screen printing, and vinyl?
- DTF vs. DTG: DTG requires pre-treatment and works best on 100% cotton. DTF works on more fabrics and doesn't need pre-treatment.
- DTF vs. Screen Printing: Screen printing is cost-effective for large orders but has setup costs. DTF wins for short runs and complex designs.
- DTF vs. Vinyl: Vinyl requires weeding and layering, limiting detail. DTF handles full-color designs with ease.
Frequently Asked Questions About DTF Printing
How long do DTF transfers last?
When applied correctly, DTF transfers can last 50+ washes. Proper curing and post-pressing are key to longevity.
Can I use DTF on dark shirts?
Absolutely. DTF printing uses a white ink base, so it shows up vividly on dark fabrics without needing a separate white underbase.
Do I need a special printer for DTF?
You can convert a standard inkjet printer with DTF inks and film, but dedicated DTF printers offer better reliability and white ink circulation.
What is the best temperature for DTF transfer?
Most DTF transfers require 300-320°F (150-160°C) for 10-15 seconds. Always follow your film and powder manufacturer's recommendations.
Can I stretch DTF prints?
Yes, DTF prints are stretchable and flexible, making them ideal for athletic wear and stretchy fabrics.