When you walk into a print shop, you can usually tell which blanks get used the most. The ones that hold up, feel right, and don't cause headaches. Shaka Wear has earned a spot on many shop floors for exactly those reasons. But DTF printing on these blanks isn't just a matter of pressing a transfer and hoping for the best. There's a rhythm to it, a set of practices that separate a clean, durable print from one that peels or fades after a few washes. This playbook is about that rhythm. It's for the printer who wants to get consistent results from Shaka Wear blanks, whether you're running a small batch or a full gangsheet.
Why Shaka Wear Blanks Earn Their Place
Shaka Wear isn't just another blank brand. Their tees, hoodies, and crewnecks have a weight and texture that streetwear customers notice. The fabric is often heavier, with a tighter knit that gives prints a solid foundation. But that same weight can be a double-edged sword for DTF. Heavier cotton doesn't absorb moisture the same way a lighter ring-spun does, and that affects how the adhesive powder cures and how the transfer bonds. Understanding the fabric is the first step to mastering it.
Fabric Weight and DTF Compatibility
Most Shaka Wear tees fall in the 5.5 to 6.5 oz range, with some hoodies going heavier. That weight means more cotton per square inch, which can create a slightly rougher surface. DTF transfers need a smooth, even surface to adhere properly. On heavier fabrics, you might notice the print sitting a bit more on top rather than sinking in. That's not a bad thing for durability, but it does mean you need to adjust your press settings. A little more pressure and a few extra seconds can make a big difference.
Choosing the Right Shaka Wear Blank for Your Design
Not all Shaka Wear blanks are created equal when it comes to DTF. The classic tee is a workhorse, but if you're printing detailed gradients or fine lines, you might want to consider a lighter fabric or a different blend. Here's a quick breakdown of common Shaka Wear options and how they handle DTF:
- 100% Cotton Tees (5.5 oz): Great for bold graphics and solid colors. The tight weave holds the transfer well, but pre-pressing is essential to remove moisture.
- Cotton/Poly Blends: These can be trickier. The poly content can cause the transfer to adhere differently, so test a small area first. Lower temperature and slightly longer press time often help.
- Heavyweight Hoodies (8 oz+): The thick fabric needs more heat and pressure to get a good bond. Consider using a pressing pillow to ensure even contact.
If you're unsure, always run a test print on a scrap piece of the same fabric. It's a small investment that saves you from ruined blanks and wasted transfers.
Pre-Pressing: The Step You Can't Skip
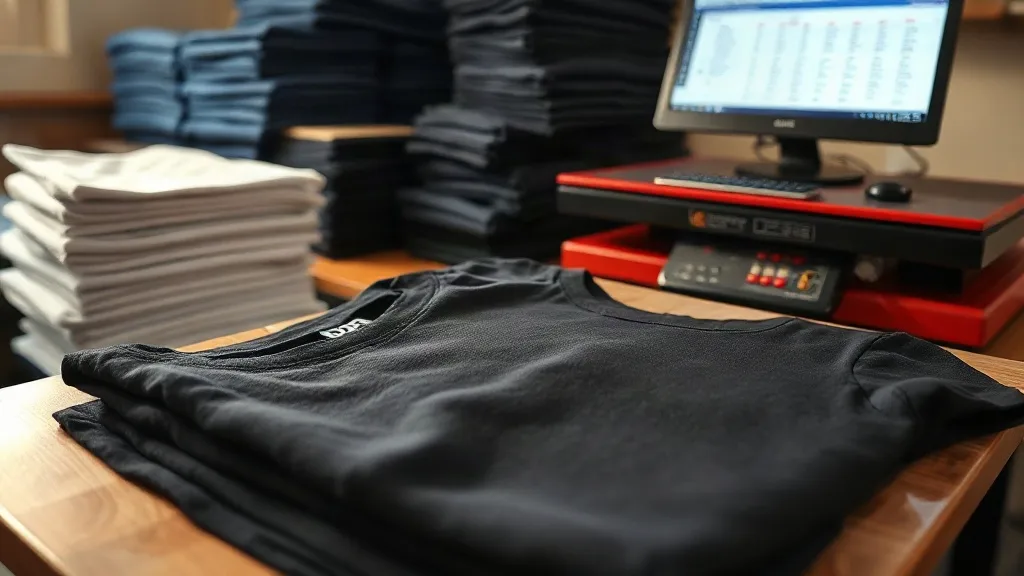
Moisture is the enemy of DTF. Shaka Wear blanks, especially heavier ones, can hold moisture from manufacturing or storage. If you don't pre-press, that moisture turns to steam when you apply the transfer, and steam creates bubbles, weak adhesion, and a cloudy finish. Pre-press each garment for 5-10 seconds at 300°F (150°C) with medium pressure. This opens the fibers and drives out moisture. For hoodies, pre-press both sides if you're printing on the back. It's a simple step, but it's the difference between a print that lasts and one that peels after the first wash.
Setting Up Your Heat Press for Shaka Wear
Every press is different, but there are some general guidelines that work well with Shaka Wear blanks. Start with these and adjust based on your results:
- Temperature: 300-320°F (150-160°C) for cotton, slightly lower for blends (280-300°F).
- Pressure: Medium to firm. You want the transfer to make full contact with the fabric, but not so much that the fabric compresses and creates a shiny spot.
- Time: 10-15 seconds for the press, then peel while hot or cold depending on the transfer type. For Shaka Wear, hot peel often works better because the adhesive is still pliable.
Always use a Teflon sheet or parchment paper over the transfer to protect your press and prevent scorching. And don't forget to adjust for thicker seams or pockets by using a pressing pillow.
Troubleshooting Common DTF Issues on Shaka Wear
Even with the best setup, things can go wrong. Here are some common problems and how to fix them:
Transfer Not Adhering
If the transfer peels or lifts at the edges, it's usually due to insufficient pressure, temperature, or time. Increase one variable at a time and test. Also, make sure the fabric is completely dry before pressing.
Bubbles or Blisters
Bubbles under the transfer are a sign of moisture. Pre-press longer, and store your blanks in a dry area. If bubbles appear during pressing, stop immediately, peel the transfer, and re-pre-press the garment.
Color Fading After Wash
Fading can happen if the transfer wasn't cured properly. Ensure you're using the correct temperature and time, and consider a post-press for a few seconds to set the ink. Also, advise customers to wash inside out in cold water.
Maximizing Efficiency with Gangsheets
If you're printing multiple designs on Shaka Wear blanks, a DTF Gangsheet Builder can save you time and money. By grouping transfers on a single sheet, you reduce waste and streamline production. When building a gangsheet for Shaka Wear, keep in mind the fabric weight: heavier fabrics might require slightly more pressure, so arrange your designs accordingly. Also, consider the size of the blanks; smaller tees need smaller transfers, so plan your layout to minimize unused space.
Post-Press Care and Customer Education
Once the transfer is applied, a quick post-press for 5 seconds with a Teflon sheet can improve durability. But the job doesn't end there. Educate your customers on proper care: wait 24 hours before washing, turn the garment inside out, use cold water, and avoid harsh detergents. This simple guidance can extend the life of the print and keep your customers happy.
Frequently Asked Questions
Can I use DTF transfers on all Shaka Wear fabrics?
Most Shaka Wear fabrics work well with DTF, but blends and very heavy fabrics may require adjusted settings. Always test on a scrap first.
What's the best peel method for Shaka Wear?
Hot peel is generally recommended for Shaka Wear because it allows the adhesive to bond smoothly without stretching the fabric.
How do I prevent the print from cracking on heavyweight Shaka Wear hoodies?
Use a pressing pillow to ensure even pressure, and avoid over-pressing. Also, choose a transfer with a flexible adhesive designed for heavy fabrics.
Do I need a special transfer for Shaka Wear's poly blends?
Standard DTF transfers work, but lower the temperature and increase time slightly to accommodate the poly content.
How long should I pre-press Shaka Wear blanks?
5-10 seconds at 300°F (150°C) with medium pressure is usually sufficient, but for heavy hoodies, extend to 15 seconds.