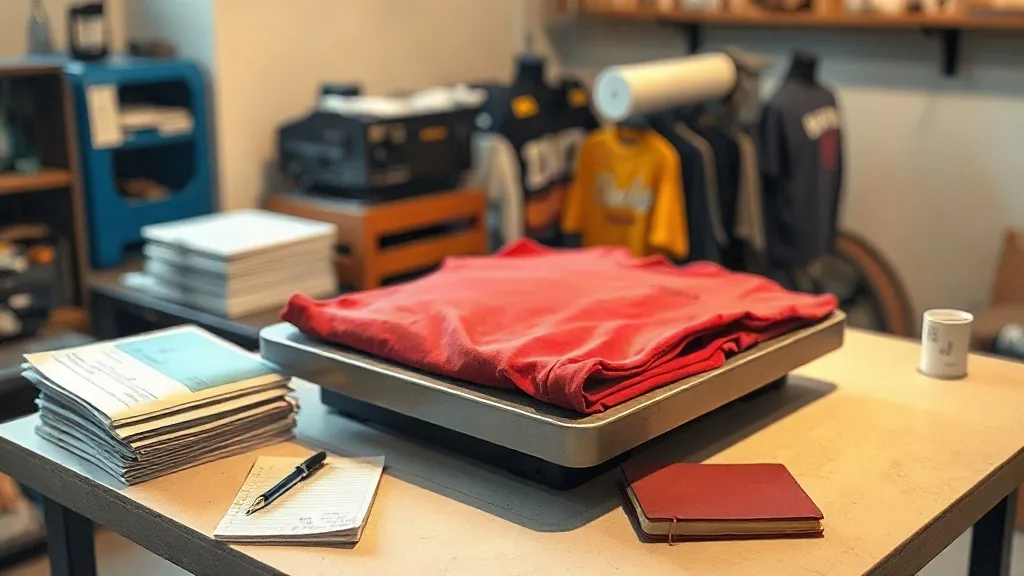
You can buy the best film, use a calibrated printer, and powder every sheet evenly, and still watch a dtf transfers job fail the moment it hits the press. The transfer looks fine coming off the platen. Then the first wash curls an edge, or the design cracks across the chest after a week of wear. Nine times out of ten the culprit isn't the transfer itself. It's the press.
Heat press settings get treated like a fixed recipe: 320°F, 15 seconds, medium pressure, done. That works often enough to feel true, but it hides the real relationship between temperature, pressure, and time. Change one garment, one film brand, or one press and the same numbers stop working. Understanding why they work is what lets you fix a bad peel in thirty seconds instead of reprinting the job.
Why the Press Matters More Than the Transfer
A dtf transfers sheet is a sandwich: a printed ink layer, a white ink backing, and a thermoplastic powder adhesive on top. The press has one job, which is to melt that powder into the fabric fibers without scorching the ink or the garment. Too little heat and the adhesive never fully flows. Too much and the powder over-cures into a brittle film that cracks instead of stretching.
Pressure does a different job. It pushes the melted adhesive down into the weave so the print locks onto individual fibers rather than sitting on top of them. Time is the variable that lets heat and pressure do their work evenly across the whole design. Get all three right and the bond is mechanical, not just surface-level, which is why a properly pressed DTF print can outlast the shirt it's on.
This is also why the same settings behave differently on a 4.1 oz tri-blend and a 6.1 oz heavyweight cotton. The fabric's ability to absorb and distribute heat changes the equation, and the press settings have to follow.
The Three Variables, Explained
Temperature: The Range That Works
Most dtf films are formulated to press between 300°F and 330°F (150°C to 165°C). The lower end protects heat-sensitive fabrics like polyester and blends. The upper end gives you a faster, more complete bond on cotton and canvas. Going above 330°F is where trouble starts: the powder can scorch, the ink can yellow, and polyester can develop a shine or even melt at the fiber level.
If you're pressing onto 100% polyester, start at 300°F and extend the time slightly rather than cranking the heat. Polyester holds heat well, so a lower temperature with a few extra seconds often gives a cleaner result than a hot, fast press.
Pressure: Medium, Consistently
Medium pressure is the standard for a reason. Too light and the adhesive never reaches the fibers, which shows up as a transfer that peels from the edges inward. Too heavy and the powder gets pushed out past the design edge, creating a visible halo of cured adhesive around the print. Heavy pressure also flattens the fabric weave, which can leave a permanent press mark on delicate garments.
The tricky part is that "medium" means something different on every press. A clamshell press and a swing-away press apply force differently, and a press with a worn silicone pad distributes it unevenly. The practical fix is to test on scrap fabric and adjust until the transfer releases cleanly with no adhesive residue on the carrier film.
Time: Short, but Not Too Short
Most DTF transfers press in 10 to 15 seconds. Thin films and small designs can go shorter. Thick films, large gang sheets, and heavy garments need the full 15 seconds or a few more to let heat penetrate evenly. The mistake is treating time as a buffer for a cold press. If your platen isn't at temperature, adding seconds won't fix it, it'll just scorch the top layer while the bottom stays cold.
Peel Temperature: Hot, Warm, or Cold?
Peel temperature is where a lot of people get burned, literally. DTF is typically a hot peel or warm peel process, depending on the film. Hot peel means you remove the carrier film immediately after the press opens. Warm peel means you wait a few seconds. Cold peel means you let the transfer cool completely before removing the film.
Your film supplier should tell you which one applies. If you're not sure, test: press a small design, peel a corner immediately. If the ink lifts with the film, the transfer needs to cool first. If it releases cleanly, it's a hot peel film. Getting this wrong is one of the most common causes of a print that looks perfect in the shop and fails in the wash.
After peeling, a second press of 5 to 10 seconds with a cover sheet or parchment paper sets the print and smooths any texture from the carrier. This step is optional on some films but worth doing on anything that will see heavy wear.
Matching Settings to Fabric
Fabric is the variable most people ignore, and it's the one that changes your settings the most.
- 100% cotton: Full temperature (320°F to 330°F), medium pressure, 12 to 15 seconds. Cotton handles heat well and gives a strong, durable bond.
- Polyester and poly blends: Lower temperature (300°F to 310°F), slightly longer time, and watch for shine. A pressing cloth or cover sheet helps protect the surface.
- Tri-blends: Medium temperature (310°F to 320°F). These fabrics are heat-sensitive and stretchy, so the goal is a bond that moves with the fabric rather than fighting it.
- Canvas and heavy duck: Higher pressure and the full 15 seconds, sometimes a second press, because the thick weave needs more force to reach the fibers.
If you're running a mixed order, press the lowest-temperature garment first, then work up. This keeps you from having to wait for the platen to cool down between jobs, which is where a lot of time gets lost in a busy shop.
Common Press Problems and What They Mean
Most press failures announce themselves in predictable ways. Learning to read them saves film and time.
- Print peels from the edges: Not enough pressure or not enough time. The adhesive reached the surface but not the fibers.
- Adhesive residue on the carrier film: Too much pressure or too much heat. The powder flowed past the design and cured onto the film.
- Cracking after washing: Over-cured adhesive or a cold platen. The bond is brittle rather than flexible.
- Shiny patch on polyester: Temperature too high for the fabric. Drop 10°F to 15°F and add a few seconds.
- Design looks dull or washed out: Under-pressed. The ink hasn't fully bonded, so it's sitting on top of the fabric instead of integrated with it.
If you're sourcing dtf transfers near me, ask the supplier what films they use and whether they're hot or cold peel. That single question tells you more about how the transfer will behave on your press than any spec sheet.
Building a Repeatable Press Routine
Consistency is what separates a shop that reprints ten percent of its orders from one that reprints one percent. A few habits make the difference.
- Calibrate your press once a month. Use a heat gun or an infrared thermometer to check the platen temperature against the display. A press that reads 320°F but sits at 300°F will quietly fail every job.
- Keep a settings log. Note the fabric, film brand, temperature, pressure, time, and peel type for every new combination. After a few months you'll have a reference that's worth more than any generic guide.
- Test on scrap first. Every new garment or film gets a small test press before it goes into production. Thirty seconds of testing beats an hour of reprinting.
- Check the platen pad. A worn or compressed silicone pad distributes pressure unevenly. Replace it when you start seeing inconsistent results across the same design.
The press is the least glamorous part of a DTF setup, but it's where the print either becomes permanent or becomes a complaint. Dial in the three variables, match them to the fabric, and the rest of the process gets a lot more forgiving.
Frequently Asked Questions
What temperature should I use for DTF transfers on a cotton t-shirt?
Most cotton shirts press well between 320°F and 330°F for 12 to 15 seconds at medium pressure. Start at 320°F, check the peel, and move up only if the transfer doesn't release cleanly.
Can I press DTF transfers on polyester without damaging the fabric?
Yes, but drop the temperature to around 300°F to 310°F and add a few seconds to the press time. Use a cover sheet to protect the surface and watch for shine, which is the first sign the heat is too high.
Why is my DTF transfer peeling after washing?
Peeling usually means the adhesive didn't fully bond to the fibers. Check pressure first, then time, then temperature. Also confirm you're peeling at the right temperature for your film, since peeling too early or too late can weaken the bond.
Do I need a second press after peeling the carrier film?
It's not always required, but a 5 to 10 second second press with a cover sheet improves durability and smooths the print surface. It's worth doing on anything that will see regular washing.
How do I know if my heat press is actually at the right temperature?
Don't trust the display alone. Use an infrared thermometer or a heat gun to measure the platen surface directly. If the reading is off by more than a few degrees, recalibrate the press or adjust your settings to compensate.