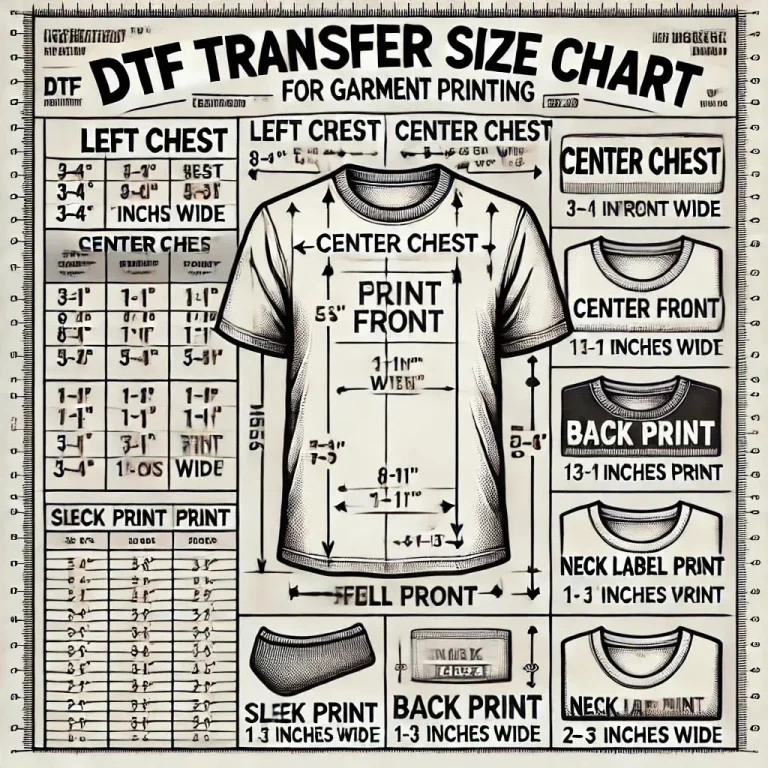
DTF Transfer by Size is reshaping how brands decorate textiles, delivering versatility, durability, and vibrant color across a wide range of products. This introductory guide ties together the DTF transfer size guide and proven DTF printing best practices to help you plan by scale. Whether you’re applying a small format DTF on a cap or a large format DTF transfer for a banner, size decisions influence image sharpness, color fidelity, and adhesion. By adopting a size-aware workflow, you can minimize waste, speed up production, and achieve consistent, professional results, a practical example of DTF transfer optimization by size. This focused approach supports a broad range of projects while keeping vibrancy and durability intact.
Beyond the explicit term, this approach translates into a dimension-aware DTF workflow that optimizes outcomes from tiny emblems to oversized graphics. In practice, this means focusing on print scale, resolution retention, color integrity, and substrate compatibility to preserve clarity as the design footprint varies. By aligning file preparation, calibration of heat and pressure, and consistent testing, you ensure uniform results across sizes and applications.
DTF Transfer by Size: A Practical Framework for All Formats
DTF Transfer by Size establishes a size-aware workflow that aligns with the concept of a DTF transfer size guide. This approach helps you plan for everything from tiny logos to large banners while maintaining a consistent standard of quality. By thinking in terms of size from the outset, you can tailor image preparation, color management, and heat settings to each project without sacrificing overall workflow efficiency.
Adopting a unified, size-focused framework also supports DTF transfer optimization by size. It encourages you to build repeatable steps—file prep, test sheets, and press calibration—that translate across small, medium, and large formats. In practice, this means faster onboarding for new operators, less material waste, and more dependable results no matter the print scale.
Small Format DTF: Precision, Clarity, and Font Integrity
Small format DTF demands crisp lines, legible type, and faithful color in a compact footprint. This is where high-resolution source artwork and careful color management pay off, ensuring that tiny elements stay sharp on caps, polo tees, or pocket garments. In practice, aim for vector artwork where possible, or output raster files at 300–600 PPI when scaling down.
A key part of DTF printing best practices for small formats is font handling and substrate compatibility. Always outline or embed fonts to avoid substitutions, and choose a stable color space (often sRGB) with calibrated profiles to minimize drift between screen proofs and the final transfer. Conclude with small test swatches to verify legibility and color accuracy before committing to larger runs.
Medium Format DTF: Balancing Detail and Production Speed
Medium-sized prints strike a balance between visual impact and production efficiency. To preserve midtone detail on chest panels or sleeves, target 300–600 PPI for the output and manage dot gain through RIP controls to retain smooth gradients. Calibrated color density helps prevent oversaturation while maintaining vibrancy on both light and dark fabrics.
Alignment and registration become more critical as the surface area grows. Medium format DTF benefits from clear garment alignment marks and a consistent workflow that scales up from the small-format approach. By running a dedicated test sheet for each batch, you can fine-tune parameters for color accuracy, adhesion, and edge sharpness without sacrificing throughput.
Large Format DTF Transfers: Coverage, Durability, and Color Uniformity
Large format DTF transfers present distinct challenges in color uniformity and adhesion. This size category benefits from thorough pre-press flattening to remove moisture and reduce fabric distortion, followed by ICC profiles designed for wide areas. A single color-consistent sheet should render evenly across banners, large logos, or oversized apparel.
Durability considerations become paramount as print dimensions grow. Use strategies like longer presses, potential two-pass methods, and stable pressing surfaces to minimize warping and edge lifting. Substrate variability—especially on dark fabrics—requires attention to opacity and underbase control to preserve vibrancy across large blocks of color.
Color Management and RIP Workflows for Size-Adjusted DTF
A robust color management workflow is essential for size-adjusted DTF. Start with a consistent color space, ideally calibrated ICC profiles, and ensure your RIP is configured for the target output size. This aligns with the guidance offered in the DTF transfer size guide and supports reliable color reproduction across small, medium, and large prints.
To sustain quality across formats, maintain a centralized library of tested materials and profiles, and train operators to use them consistently. Incorporate color proofs and regular printer calibrations as part of your DTF printing best practices, so the entire team can deliver predictable results regardless of the print size.
Workflow, Quality Assurance, and Troubleshooting Across Sizes
A repeatable workflow for DTF Transfer by Size starts with artwork prep, followed by size-specific test sheets and strict quality checks at each stage. Establish standard operating procedures that cover small, medium, and large formats to ensure consistency from first pass to final production.
When issues arise, address them with size-targeted troubleshooting. For small prints, verify resolution and font integrity; for medium, re-balance color density and RIP settings; for large, confirm thorough pre-press and even heat distribution. Regular quality assurances—color uniformity, edge sharpness, and adhesion—keep the workflow efficient and reduce costly reprints.
Frequently Asked Questions
What is DTF Transfer by Size and why does size matter in DTF Transfer by Size workflows?
DTF Transfer by Size is a size-aware approach to directing each DTF transfer (small, medium, and large) so image quality, color accuracy, and adhesion are optimized for the print area. Size matters because tiny items require crisp lines and legibility, while large surfaces demand even color density and consistent heat distribution. Following the DTF transfer size guide helps tailor resolution, press parameters, and workflows for each size, delivering repeatable results across the spectrum.
How can I apply DTF transfer optimization by size to achieve reliable results for small format DTF?
For small format DTF, start with high‑quality source files and clear typography. Use vector artwork when possible and output raster at 300–600 PPI; embed or outline fonts to avoid substitutions. Set the press to around 160–170°C (320–338°F) for 10–15 seconds with medium pressure, and verify color with a small test swatch. Consider substrate stretch and finish with a gentle peel after cooling to protect delicate fabrics.
What are best practices for large format DTF transfer within a size-based approach?
Large format DTF transfer requires thorough pre‑press to flatten fabric, plus robust color management across wide areas using ICC profiles. Use longer dwell times or a two‑pass press to ensure even heat and adhesion, and rely on alignment marks to maintain registration on curved surfaces. Account for substrate variability (dark fabrics may need an underbase) and verify color consistency with test sheets to prevent washes or hotspots.
How should color management be handled across small, medium, and large DTF transfers as part of DTF printing best practices?
Color management should be consistent across sizes. Use calibrated ICC profiles, RIP color management, and stable color spaces (e.g., issue-proof proofs in the target size). Proof at the target sizes, then scale checks to small, medium, and large formats to maintain color fidelity and minimize dot gain. This alignment is a core element of DTF printing best practices.
What is a practical workflow for implementing DTF Transfer by Size in production?
A practical workflow includes: 1) determine target sizes for small, medium, and large formats; 2) prepare artwork with correct resolution, embedded profiles, and outlined fonts; 3) produce a small test sheet to validate sharpness and color; 4) scale to medium and test for consistency; 5) scale to large with another test; 6) approve all sizes and proceed to mass production with QA at each size.
What troubleshooting steps address common size-related issues in DTF Transfer by Size?
Size-specific troubleshooting includes: small format—check resolution, font outlines, and dot gain; adjust pressure or press time to prevent ink bleed; medium format—verify ICC/RIP settings and re-balance color density for accurate midtones; large format—watch for warping or edge lifting, ensure thorough pre‑press and even heat (consider a two‑pass approach). Regular calibration and a robust pre‑press routine help prevent recurring issues.
| Size | Key Focus | Core Practices | Press & Post-Press Settings | Notes |
|---|---|---|---|---|
| Small Prints | Precision and Clarity | High-res source files; vector fonts; 300–600 PPI; color management; embed/outline fonts; test color integrity; account for fabric distortion; avoid fine hairlines | 160–170°C (320–338°F) for 10–15s; medium pressure; test press; cool and gentle peel | Keep tests on swatches; protect delicate fabrics |
| Medium Prints | Balancing Detail and Coverage | 300–600 PPI; manage dot gain; calibrate color density; check substrates/adhesion; use alignment marks | 12–18s; similar temps; slightly higher pressure | Perform swatches; ensure alignment across curved surfaces |
| Large Prints | Coverage, Durability, Consistency | Pre-press flattening; ICC profiles; color consistency across wide areas; test sheet | Longer press times or multiple passes; two-pass approach; keep fabric flat | Dark fabrics require white underbase; watch for edge lifting |
| Unified Approach | Cross-size Best Practices | High-quality source art; vector fonts; embedded color profiles; prepare for output size with margins/bleed; standardized materials; heat-press calibration; test library; QA touchpoints | Regular calibration; consistent dwell; same workflow across sizes | Reduces variation; enables repeatable outcomes |
| Troubleshooting by Size | Size-related checks & fixes | Small: resolve resolution, font outlines, dot gain; adjust pressure/time as needed; avoid ink bleed; Medium: fix color/ICC/RIP; tune color density; Large: address warping; pre-press; even heat | Adjust pressure/time per size | Keep quick checks per size; customize fixes |
| Workflow and Quality Assurance | Stepwise workflow | Gather assets; prepare; small test; scale to medium; second test; final approvals; production run | Test prints at each size; approvals | Ensures readiness and consistency across orders |
| Materials and Equipment Essentials | Tools & supplies | Film and powder adhesive; calibrated heat press; color-management workflow; testing garments; cleaning/maintenance supplies | Maintain reliable materials per size; keep equipment calibrated |
Summary
DTF Transfer by Size provides a practical framework for achieving consistent, high-quality results across small, medium, and large prints. By tailoring image preparation, color management, and press parameters to each size, shops can preserve detail on tiny logos and ensure color accuracy on expansive banners. A size-aware workflow reduces waste, accelerates production, and improves repeatability. Key takeaways include starting with high-quality source art, calibrating color profiles, performing test presses for each size, and maintaining consistent heat, pressure, and timing across runs. Emphasizing alignment, substrate considerations, and post-press care helps ensure durability and professional results on a wide range of fabrics and substrates. Implementing these practices under the DTF Transfer by Size framework supports efficient scaling, quality control, and customer satisfaction.

